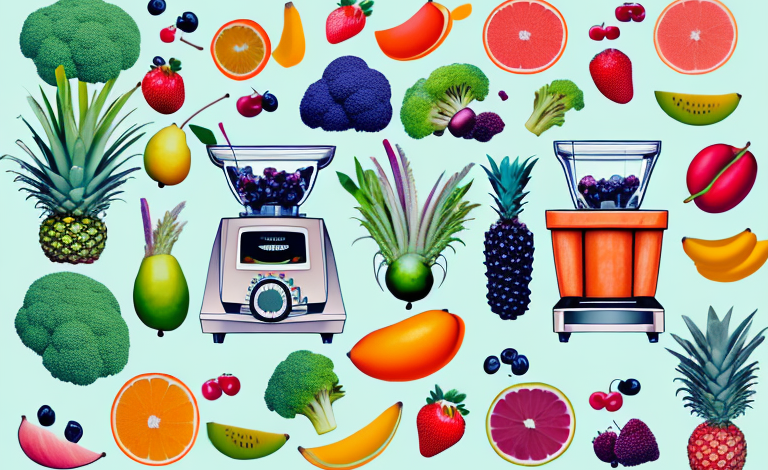
If you’re a proud owner of a Vitamix blender, you already know that this high-performance machine can do a lot more than just blend smoothies. But did you know that the order in which you add your ingredients can make a big difference in the quality of your blend? In this article, we will dive deep into the topic of what goes in Vitamix first, and why it matters so much.
Why the order of ingredients matters when using a Vitamix
Before we get into the specifics of what should go in your Vitamix first, let’s take a moment to understand why the order of ingredients matters in the first place. The main reason is that different ingredients have different textures, densities, and water content, which affects how they blend together. For example, adding too many bulky ingredients at once, like nuts or frozen fruits, can make it harder for the blades to reach the liquid and create a smooth consistency. On the other hand, starting with liquid and adding ingredients gradually can help create a vortex that pulls everything towards the blades and ensures a more efficient blend.
Another factor to consider when blending with a Vitamix is the temperature of the ingredients. Adding hot liquids or ingredients can create pressure and cause the lid to pop off, which can be dangerous. It’s important to let hot ingredients cool down before blending or use the Vitamix’s vented lid to release steam.
Lastly, the order of ingredients can also affect the taste and texture of your final product. For example, if you’re making a smoothie, adding leafy greens first and blending them with liquid can create a smoother texture and prevent chunks from forming. Additionally, adding sweet ingredients last can help balance out the flavors and prevent overpowering sweetness.
Understanding the importance of starting with liquid
The first thing that you should always add to your Vitamix is liquid. Water, plant-based milk, juice, or any other liquid base will help lubricate the blades, prevent overheating, and facilitate the blending process. Depending on your recipe, you may need to adjust the amount of liquid you add. Remember that it’s always easier to add more liquid if your blend is too thick than to remove it if it’s too runny. As a general rule of thumb, aim for at least one cup of liquid per recipe, but adjust based on your personal preference.
Another reason why starting with liquid is important is that it helps to evenly distribute the ingredients in the blender. When you add the liquid first, it creates a base for the other ingredients to blend into, ensuring that everything is mixed together thoroughly. This is especially important when making smoothies or soups, where you want all the flavors and textures to be well combined. So, always remember to start with liquid when using your Vitamix, and you’ll be on your way to creating delicious and perfectly blended recipes every time.
How to layer your ingredients for optimal blending
Once you have your liquid base, it’s time to start adding the rest of your ingredients. A common mistake that many people make is to dump everything into the blender all at once, which can result in uneven blending and chunks of unmixed ingredients. To avoid this, it’s recommended to layer your ingredients in a specific order. Here’s a general guideline:
- Start with soft produce, like fresh greens, berries, or avocado
- Add hard produce, like carrots, apples, or beets
- Follow with any nuts, seeds, or powders that need to be blended
- Add frozen ingredients like ice, fruit, or vegetables
By layering your ingredients this way, you create a more uniform texture and help your blender blades move more efficiently. Remember to remove any stems, seeds, or pits from your produce before adding them to the blender, as they can cause lumps and inconsistencies in your blend.
Another important tip to keep in mind when layering your ingredients is to add your liquids last. This helps to ensure that your blender blades have enough liquid to properly blend all of the ingredients together. If you add your liquids first, you may end up with a thick, chunky mixture that is difficult to blend. Additionally, if you’re using a high-speed blender, be sure to start on a low speed and gradually increase to avoid overheating the motor and damaging your blender.
The benefits of starting with soft ingredients first
Starting with soft ingredients has several advantages, especially when it comes to leafy greens. If you add hard produce first, the greens may get stuck at the bottom and fail to blend properly. By putting the softest ingredients first, you create a cushion that helps propel the other ingredients upwards and creates a smoother consistency. Soft ingredients also tend to have a higher water content, which can help create more liquid in your blend and prevent it from becoming too thick.
In addition to creating a smoother consistency and preventing your blend from becoming too thick, starting with soft ingredients can also help preserve the nutrients in your ingredients. When you blend hard produce first, the heat generated by the blades can cause some of the nutrients to break down. By starting with soft ingredients, you reduce the amount of time that the blades are in contact with your ingredients, which can help preserve their nutritional value.
Tips for preventing air pockets in your Vitamix
One issue that many Vitamix users struggle with is air pockets forming in the blender, which can make it harder to achieve a smooth and consistent blend. To prevent air pockets, try tapping the blender jug gently on the countertop while blending, or pausing the blender and stirring with a spatula to redistribute the ingredients. You can also try blending in smaller batches or adding more liquid to your recipe.
Another helpful tip for preventing air pockets in your Vitamix is to start blending on a low speed and gradually increase the speed as needed. This can help to ensure that all of the ingredients are properly incorporated and reduce the likelihood of air pockets forming. Additionally, make sure to properly layer your ingredients in the blender jug, with heavier items on the bottom and lighter items on top, to help promote a more even blend.
How to choose the right blade for your recipe
Vitamix blenders come with different types of blades, each designed for specific purposes. The standard wet-blade container is suitable for most blends, but if you’re planning to make nut butter, dough, or dry mixes, you may want to consider purchasing a dry-blade container. The tamper tool that comes with your blender can also help push ingredients down towards the blades and ensure a smoother blend. Experiment with different blades and attachments to see which ones work best for your favorite recipes.
The best order for adding fruits and vegetables to your Vitamix
Fruits and vegetables are essential ingredients in many Vitamix recipes, but they need to be added in a specific order to achieve the best results. As a general rule, start with the softest and most watery fruits and veggies, like cucumber, celery, or oranges, and work your way up to harder and denser produce like carrots, apples, or beets. You can also freeze some of your fruits like bananas or berries to add a creamy texture without needing to add any dairy or nut milk.
Why adding ice last can help prevent damage to your blender
If you’re planning to add ice to your blend, it’s best to do it last. Ice can be hard on the blades and cause them to dull or wear out faster, so adding it at the end ensures that it spends the least amount of time in contact with the blades. You can also try crushing the ice before adding it to your blender to make it easier to blend and prevent damage.
The impact of starting with dry ingredients on the longevity of your Vitamix.
While Vitamix blenders are known for their durability and longevity, starting with dry ingredients can put extra strain on the blades and motor and potentially shorten the life of your machine. If you’re making a dry recipe like a grain-free flour or a spice blend, it’s best to blend it in small batches and avoid filling the jar more than halfway. You can also use a pulse feature instead of continuous blending to prevent overheating.
How to adjust the order of ingredients for different types of recipes
While the general guidelines we’ve outlined so far work well for most Vitamix recipes, there may be some exceptions where you need to adjust the order of ingredients based on your preferences and the nature of the recipe. For example, if you’re making a layered smoothie with different colors, you may want to blend each layer separately and assemble them afterwards. Or, if you’re making a hot soup, you can add all the ingredients at once and let the heat of the blender warm them up.
Common mistakes to avoid when using a Vitamix blender
Even experienced Vitamix users can make mistakes from time to time. Here are some common ones to watch out for:
- Overfilling the blender jar, which can cause it to leak or overflow
- Not removing the cap from the lid while blending hot liquids, which can cause pressure to build up and splatter
- Adding too many ice cubes at once, which can cause the blender to jam
- Not cleaning the blender jar thoroughly after each use, which can lead to bacterial growth and affect the taste of your blends
By avoiding these mistakes, you can enjoy the full benefits of your Vitamix blender and create delicious and healthy blends for years to come.
Expert tricks for achieving a smooth and consistent blend every time.
Now that you know what goes in your Vitamix first and how to layer your ingredients for optimal blending, here are some expert tricks to take your blends to the next level:
- Use high-quality ingredients that are fresh and in season
- Cut your produce into small pieces to help the blades reach them more easily
- Try experimenting with different textures and combinations to find your favorite blends
- Blend for longer than you think you need to, to ensure a silky smooth consistency
- Invest in a good quality blender that can handle any recipe you throw at it
By following these tips, you can become a Vitamix blending pro and unlock the full potential of your machine.
A step-by-step guide to mastering the art of blending in your Vitamix
Now that you have a solid understanding of what goes in your Vitamix first and how to optimize your blends, let’s put it all together in a step-by-step guide:
- Add the liquid base to your blender jar
- Add the softest ingredients, like greens or banana
- Add harder produce, like carrots or apples
- Add any nuts, seeds, powders, or flavorings
- Add frozen ingredients, like ice or berries
- Blend on low speed for a few seconds
- Increase the speed gradually and blend for longer, until you reach the desired consistency
- Stop the blender, remove the lid, and taste your blend
- Adjust the seasoning, sweetness, or thickness if necessary
- Pour your blend into a glass or jar and enjoy!
Congratulations, you’re now a Vitamix blending expert. With these tips and tricks, you can create healthy and delicious blends that satisfy your taste buds and nourish your body. Happy blending!