Blenders have revolutionized our ability to create homemade soups, smoothies, juices, and more. One of the major factors that determine the quality of blending is speed control. Vitamix, a high-end blender brand, offers a variable speed control feature, allowing users to blend at different speeds for various recipes. In this article, we’ll explore the importance of speed in blender operation, how the Vitamix blender’s variable speed control works, how to adjust and use different speed settings, and expert recommendations for optimal blending speeds. Additionally, we will cover some common issues with the speed control function and how to troubleshoot them.
The importance of speed in a blender
Speed plays a critical role in blending different ingredients properly. In general, faster speeds create smoother blends, while slower speeds offer coarser textures. The speed of a blender can also affect the temperature of the ingredients. The higher the speed, the more heat produced, which can be ideal for making hot mixes like soups or vegetable purees. And conversely, slower speeds are suitable for creating cold mixes like smoothies or ice creams.
It is important to note that not all blenders have the same speed settings. Some blenders come with only two-speed settings, while others have multiple speed options. Additionally, some blenders have a pulse function, which allows for short bursts of high-speed blending. Understanding the speed options of your blender can help you achieve the desired texture and temperature for your blends.
Understanding Vitamix’s variable speed control
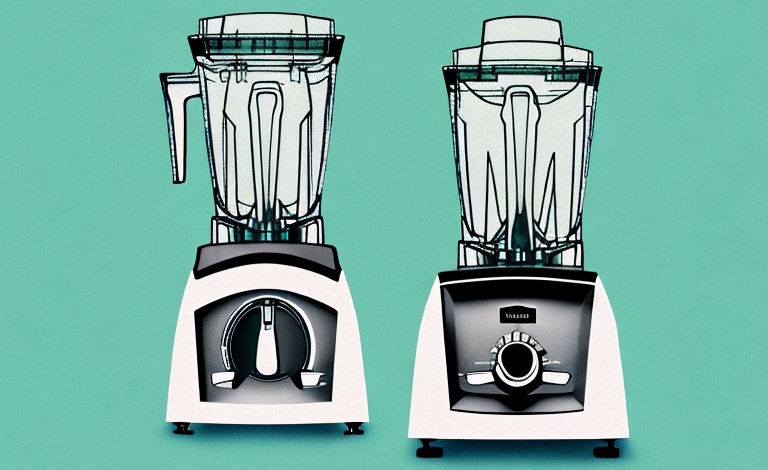
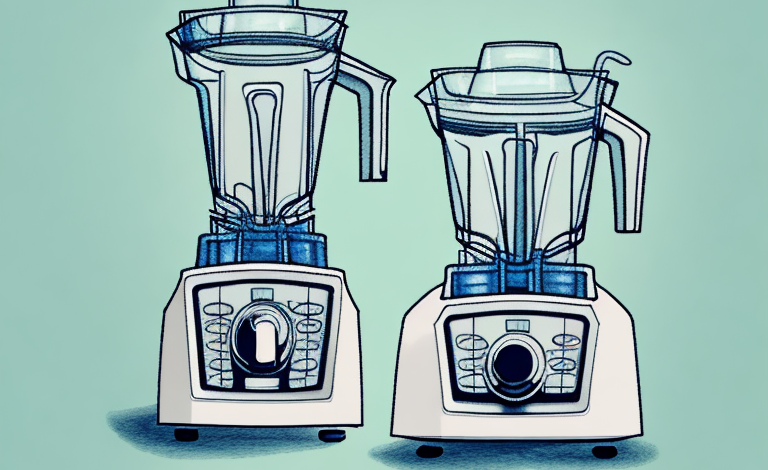
Vitamix blenders come with a unique feature of variable speed control, meaning you can adjust the speed from the lowest to the highest setting for a more precise blend. The blenders have a dial on the front, which allows users to ramp up or slow down the blending speed, depending on the ingredients being used. This feature helps users achieve their desired blend consistency, no matter what the recipe requires.
Another advantage of the variable speed control is that it allows users to create a wider range of recipes. For example, if you’re making a smoothie with leafy greens, you can start at a low speed and gradually increase it to ensure the greens are fully blended without overworking the motor. On the other hand, if you’re making a nut butter, you can start at a low speed and gradually increase it to ensure the nuts are fully ground without overheating the blender.
Additionally, the variable speed control can help users save time and effort. By starting at a low speed and gradually increasing it, you can avoid the need to stop and scrape down the sides of the blender, as the ingredients will be pulled down into the blades more efficiently. This means you can achieve a smoother blend in less time, with less effort.
How to adjust the speed on your Vitamix blender
Using the speed control on a Vitamix blender is simple. First, you need to ensure that your blender is plugged in and turned on. Then, turn the blender’s dial from left to right to increase the blending speed or from right to left to decrease the speed. You can also use the pulse button, which operates the motor at a high speed for a short burst when you need to break down hard ingredients like nuts or ice.
It’s important to note that the speed at which you blend your ingredients can affect the texture and consistency of your final product. For example, if you’re making a smoothie, you may want to start at a low speed and gradually increase it to ensure that all the ingredients are thoroughly blended without overworking them. On the other hand, if you’re making a nut butter, you may need to start at a higher speed to break down the nuts before reducing the speed to achieve a smooth and creamy consistency.
A comparison of Vitamix’s different speed settings
The speed settings on Vitamix blenders are labeled from 1 to 10, with 1 being the lowest speed and 10 being the highest. Here’s a breakdown of how each speed works:
- Speed 1 – Ideal for chopping ingredients, like fruits or vegetables
- Speed 2 – Suitable for making thick mixtures, like hummus or dips
- Speed 3-5 – Perfect for blending thick mixtures, like smoothies or soups
- Speed 6-7 – Ideal for creating creamy textures, like nut butter or sauces
- Speed 8-10 – Best for grinding hard ingredients, like coffee beans or grains
It’s important to note that the speed settings on Vitamix blenders are not just about the power of the motor, but also about the design of the blades. The blades are designed to work most efficiently at certain speeds, which is why each speed setting has a specific purpose. Additionally, some Vitamix models also have pre-programmed settings for specific tasks, such as making smoothies or hot soups, which can make blending even easier and more convenient.
Tips for using the high-speed setting on your Vitamix blender
When using the high-speed setting on your Vitamix blender, it’s important to remember not to overdo it. The high-speed setting is excellent for grinding hard ingredients, but it can also cause the motor to overheat if it’s not used properly. It’s best to use the high-speed setting for short bursts of around ten seconds, and then let the motor rest before continuing. This way, you can prevent motor burnout and ensure your blender lasts for many years.
Another important tip for using the high-speed setting on your Vitamix blender is to make sure that the lid is securely in place before starting the blender. This will prevent any ingredients from splattering out and causing a mess, as well as ensuring that the blender operates safely and efficiently. Additionally, it’s a good idea to start the blender on a low speed and gradually increase to the high-speed setting, rather than starting on high immediately. This will help to prevent any sudden jolts or shocks to the motor, which can also cause damage over time.
The benefits of using a low-speed setting on your Vitamix blender
While high-speed settings are great for grinding and chopping, low-speed settings are ideal for creating a creamy texture. Blending at a lower speed helps ensure that the mixture doesn’t heat up, which is particularly useful when making chilled items like homemade ice cream. Using a low-speed setting with a little bit of patience allows the user to achieve velvety-smooth consistency without the risk of overheating.
Another benefit of using a low-speed setting on your Vitamix blender is that it allows you to retain more nutrients in your food. When you blend at high speeds, the heat generated can destroy some of the enzymes and nutrients in your ingredients. By using a low-speed setting, you can avoid this problem and ensure that your food is as nutritious as possible.
Finally, using a low-speed setting can also help you achieve more precise results. When you’re making a recipe that requires a specific texture or consistency, it can be difficult to achieve that with a high-speed blender. By using a low-speed setting, you can take your time and gradually blend your ingredients until you get the exact result you’re looking for.
How to achieve the perfect texture with your Vitamix blender’s speed control
Getting the perfect texture with your Vitamix blender’s speed control can take some experimentation, but once you’ve figured out the right setting for each recipe, you’ll be able to achieve perfect results every time. To get the ideal consistency, start at a low speed and gradually increase it until the mixture is perfectly blended. If you’re unsure, start with a low speed setting and pulse the mixture to check its texture.
Another important factor to consider when using your Vitamix blender’s speed control is the type of ingredients you’re blending. For example, if you’re making a smoothie with leafy greens, it’s best to start at a low speed and gradually increase it to prevent the greens from getting stuck in the blades. On the other hand, if you’re blending frozen fruit or ice, you may need to start at a higher speed to break them down properly. Experimenting with different ingredients and speed settings will help you achieve the perfect texture for each recipe.
Expert recommendations for optimal speeds when making different recipes in a Vitamix blender
Soups and sauces – Speeds 3 to 5 are ideal for creating creamy soups and sauces that require a velvety-smooth texture. If you’re using raw vegetables, start at a low speed and gradually work your way up, allowing the ingredients to heat up and cook slowly.
Smoothies and Milkshakes – Speeds 4 to 6 are perfect for making smoothies, as they ensure proper blending of frozen fruits without overheating the mixture. If you’re making a milkshake, go for a higher speed, around 7 to 9, for a creamier texture.
Nut butters – For making nut butter, use speed 6 or 7, which chops nuts into a fine texture, and keeps the mixture creamy.
Grinding grains – If you intend to grind grains in your blender, use a high-speed setting, from 8 to 10, and pulse the mixture in bursts of around 10 seconds. This will help prevent the motor from overheating and produce a fine powder mix.
Ice cream – To make ice cream in your Vitamix blender, use a low speed setting of 1 to 3 to mix the ingredients until they are well combined. Then, increase the speed to 5 or 6 and blend until the mixture becomes thick and creamy. You can add in any additional mix-ins, such as chocolate chips or fruit, during the last few seconds of blending.
Troubleshooting common issues with the speed settings on a Vitamix blender
Common issues with speed settings on Vitamix blenders include inconsistency in blending, overheating, and motor burnout. These issues are usually caused by incorrect use of the speed settings or dirty blades. Always read the user manual and follow the recommended speed settings for each recipe, and ensure that the blades are clean and not dull. Additionally, avoid running the blender for extended periods or immersing in water, as these actions can destroy the blender’s motor.
Using a Vitamix blender is a great way to create healthy and delicious food and drinks at home. By understanding the blender’s speed control and following the expert recommendations provided, you can ensure that you get the best possible results from your blender, every time. Keeping track of proper use, maintenance, and repair guidelines will give your Vitamix blender a more extended lifespan, allowing you to enjoy it for many years to come.
Another common issue with Vitamix blenders is the formation of air pockets during blending. This can cause the blender to stop working or produce inconsistent results. To avoid this, always start blending on low speed and gradually increase to higher speeds. You can also use the tamper tool provided with the blender to push down any ingredients that may be stuck to the sides or top of the container.
If you are experiencing issues with your Vitamix blender, it is important to contact customer support for assistance. Vitamix offers a comprehensive warranty and repair service, and their team of experts can help you troubleshoot any issues you may be experiencing. It is also important to regularly clean and maintain your blender, including replacing the blades when necessary, to ensure that it continues to function at its best.