If you’re thinking of upgrading your old thermostat to an ecobee, you might be wondering what wires are needed for installation. The answer may vary depending on the model of your ecobee thermostat, as well as your home’s heating and cooling system. In this comprehensive guide, we’ll explain everything you need to know about ecobee thermostat wiring.
Understanding the Basics of Ecobee Thermostat Wiring
Before we dive into the specifics, let’s first go over the basics of ecobee thermostat wiring. At its core, ecobee thermostat wiring functions similarly to traditional thermostat wiring. Your thermostat connects to your home’s HVAC system through a series of wires that control different functions, such as heating and cooling.
However, ecobee thermostats can be more complex than traditional thermostats. They have more advanced features, such as Wi-Fi connectivity and the ability to connect to other smart home devices. As a result, ecobee thermostat wiring may require additional wires or different wiring configurations than what you’re used to.
One important thing to keep in mind when installing an ecobee thermostat is to ensure that you have a compatible HVAC system. Not all HVAC systems are compatible with ecobee thermostats, so it’s important to check the manufacturer’s website or consult with a professional before making a purchase.
Another factor to consider when wiring an ecobee thermostat is the power source. Ecobee thermostats require a constant power source to function properly, which means that they need to be connected to a C-wire or have a power extender kit installed. If your current wiring doesn’t include a C-wire, you may need to hire a professional to install one for you.
Wiring Requirements for Different Ecobee Thermostat Models
The wiring requirements for your ecobee thermostat will depend on the model you have. One of the most popular models is the ecobee3 lite, which requires a minimum of three wires (R, G, and Y). However, other models may require up to eight wires depending on the specific features you want to use.
If you’re not sure what wires you need for your ecobee thermostat, refer to the installation manual or contact ecobee customer support for guidance. It’s better to take the time to ensure you have the correct wiring setup than to run into problems later on.
It’s important to note that the wiring requirements may also vary depending on your HVAC system. For example, if you have a heat pump system, you may need additional wires for the O/B and C terminals. It’s always a good idea to consult with a professional HVAC technician to ensure that your ecobee thermostat is wired correctly and functioning properly.
How to Identify Existing Wires for Ecobee Thermostat Installation
Before you install your ecobee thermostat, it’s important to identify the existing wires that connect to your old thermostat. This will help you determine what wires you need for your ecobee thermostat, as well as any possible compatibility issues.
Start by turning off the power to your HVAC system at the circuit breaker. Then, remove the cover from your old thermostat and carefully note which wire corresponds to each terminal. Make a diagram or take a photo to ensure you remember the correct configuration.
If you’re not confident in your ability to identify the wires, consider hiring a professional HVAC technician to assist with the installation.
It’s also important to note that some HVAC systems may have additional wires that are not necessary for the ecobee thermostat installation. These wires may include a common wire (C-wire) or an auxiliary heat wire (W2). If you’re unsure about these wires, consult the ecobee installation guide or contact their customer support for assistance.
Common Wiring Issues and Troubleshooting Tips for Ecobee Thermostats
Even with careful planning and installation, you may encounter wiring issues when setting up your ecobee thermostat. Some common problems include incorrect wiring configurations, damaged wires, or issues with the HVAC system itself.
If you’re experiencing wiring issues, refer to the ecobee troubleshooting guide or contact customer support for assistance. It may also be helpful to consult with an HVAC technician to ensure your system is functioning properly.
One common issue that can arise with ecobee thermostats is a lack of power. This can be caused by a variety of factors, such as a blown fuse or a tripped circuit breaker. If you’re experiencing a lack of power, check your electrical panel to ensure that the circuit breaker for your HVAC system is turned on and functioning properly.
Another potential issue is compatibility with your HVAC system. Ecobee thermostats are designed to work with a wide range of heating and cooling systems, but there may be some systems that are not compatible. If you’re unsure whether your system is compatible, consult the ecobee website or contact customer support for assistance.
How to Install Ecobee Thermostat without C-Wire: Step-by-Step Guide
If your home’s wiring setup doesn’t include a C-wire, you may still be able to install an ecobee thermostat. However, you’ll need to use a workaround known as the “power extender kit.”
The power extender kit allows you to use the G-wire as a C-wire, providing the necessary power for Wi-Fi connectivity and other advanced features. Ecobee provides detailed instructions on how to install the power extender kit and configure your thermostat accordingly.
Before you begin the installation process, it’s important to ensure that your HVAC system is compatible with the ecobee thermostat. You can check compatibility on the ecobee website or by contacting their customer support team.
Additionally, if you’re not comfortable working with electrical wiring, it’s recommended that you hire a professional to install the thermostat for you. This will ensure that the installation is done safely and correctly.
Upgrading Your Old Thermostat to an Ecobee: The Complete Wiring Process
If you’re upgrading your old thermostat to an ecobee, the wiring process can be more involved than a simple replacement. However, by following the step-by-step instructions provided by ecobee, you can ensure a smooth installation process.
At a high level, the wiring process involves identifying the existing wires, connecting the new wires according to the ecobee wiring diagram, and configuring the thermostat to work with your specific HVAC system. Refer to the ecobee installation manual for detailed instructions and illustrations.
One important thing to keep in mind during the wiring process is to turn off the power to your HVAC system before beginning any work. This will ensure your safety and prevent any damage to your system. Additionally, it’s a good idea to label the wires as you remove them from your old thermostat to make it easier to identify which wire goes where when connecting the new thermostat.
After completing the wiring process, you can take advantage of the many features offered by the ecobee thermostat, such as remote temperature control, energy-saving settings, and compatibility with smart home systems. With its sleek design and advanced technology, upgrading to an ecobee thermostat can not only improve the comfort of your home but also save you money on your energy bills in the long run.
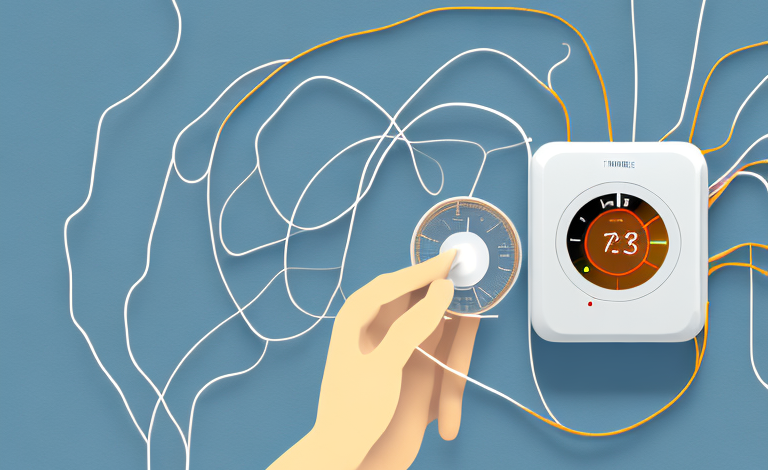
Best Practices for Running New Wires for Your Ecobee Thermostat
If your existing wires don’t meet the requirements for your ecobee thermostat, you may need to run new wires to ensure proper functionality. When running new wires, follow these best practices:
- Use thermostat wire that is rated for 300 volts or higher
- Route wires through a conduit or wall cavity, if possible
- Avoid running wires near electrical panels or appliances
- Label each wire for easy identification
By following these best practices, you can ensure a safe and reliable wiring installation for your ecobee thermostat.
It’s important to note that before running new wires, you should always turn off the power to your HVAC system. This will prevent any potential electrical hazards while you’re working with the wires. Additionally, if you’re unsure about how to properly install the new wires, it’s recommended to consult with a licensed electrician to ensure the job is done correctly.
How to Connect Your Ecobee Thermostat to HVAC System Wires
When connecting your ecobee thermostat to your HVAC system wires, it’s important to follow the manufacturer’s instructions carefully. Some general tips include:
- Ensure all wires are securely connected to their corresponding terminals
- Avoid over-tightening screws, which can damage wires
- Double-check your wiring configuration before turning on power to your HVAC system
If you’re uncertain about your ability to connect your ecobee thermostat to your HVAC system wires, consider hiring a professional HVAC technician to assist with the installation.
It’s also important to note that different HVAC systems may require different wiring configurations. Be sure to consult your HVAC system’s manual or contact the manufacturer for guidance on how to properly connect your ecobee thermostat.
Additionally, if you’re upgrading from an older thermostat, you may need to remove the old thermostat’s mounting plate before installing the ecobee thermostat. This can typically be done with a screwdriver and some gentle prying, but again, if you’re unsure, it’s best to consult a professional.
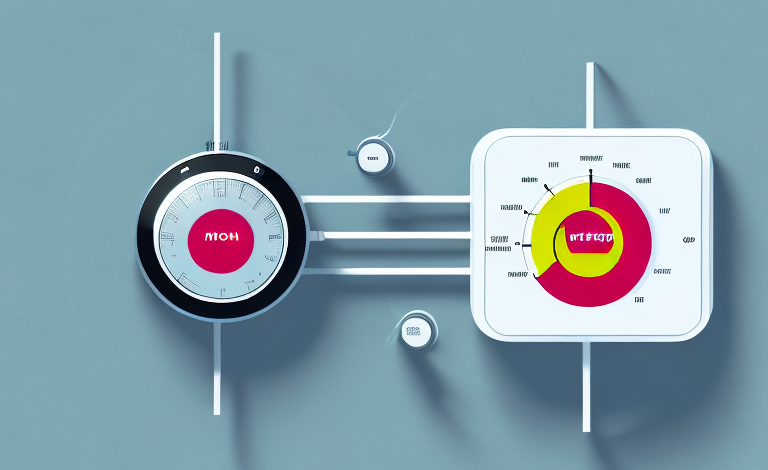
Understanding the Role of Each Wire in Your Ecobee Thermostat System
Finally, it’s important to understand the role of each wire in your ecobee thermostat system. The most common wires include:
- R (power): Provides power to your thermostat
- G (fan): Controls the fan in your HVAC system
- Y (cooling): Signals your AC to turn on during cooling mode
- W (heating): Signals your heating system to turn on during heating mode
- C (common): Provides a return path for power and allows for more advanced features like Wi-Fi connectivity
By understanding the role of each wire, you can troubleshoot issues more effectively and make any necessary wiring modifications confidently.
It’s worth noting that not all HVAC systems use the same wiring configuration. Some systems may have additional wires, such as an O wire for reversing valve control in heat pumps or an E wire for emergency heating. It’s important to consult your HVAC system’s manual or a professional technician to ensure proper wiring.
Additionally, if you’re upgrading from an older thermostat that uses different wiring, you may need to use an adapter or rewire your system entirely. It’s important to research and understand the compatibility of your ecobee thermostat with your HVAC system before making any changes.
Conclusion
Installing an ecobee thermostat involves careful planning and attention to detail when it comes to wiring. By following the guidelines outlined in this article, you can ensure a smooth installation and reliable performance from your ecobee thermostat. Whether you’re just starting the installation process or troubleshooting a wiring issue, refer to this guide for comprehensive tips and advice.
It’s important to note that while installing an ecobee thermostat can be a DIY project, it may be best to consult with a professional electrician if you’re unsure about any aspect of the installation process. This can help prevent any potential damage to your HVAC system or electrical wiring.
Additionally, ecobee thermostats offer a variety of features beyond just temperature control, such as voice control, remote access, and energy usage reports. Take advantage of these features to maximize your energy savings and improve the comfort of your home.